If the weather starts getting warm this time of year, you want to be outside holiday all the time and gives you relax at garden swing in the sunshine and enjoy your friends. Imagine, you have a beautiful garden and there are so many flowers in bloom. There are some birds are the feeders and the butterflies flying from blossom to blossom which make just a wonderful place that’s are looking beautiful.
If you want to enjoy this moment, you need a bench or a swing in the garden. The swing gives us relaxing and seating comfort. The garden swings invoke a moody sense of nostalgia for natural times. They remind us it gives carefree joys of childhood times. We remember a sense of romantic time and can do a lot to beauty a yard. You can give a great relax with a book or enjoys your friends.
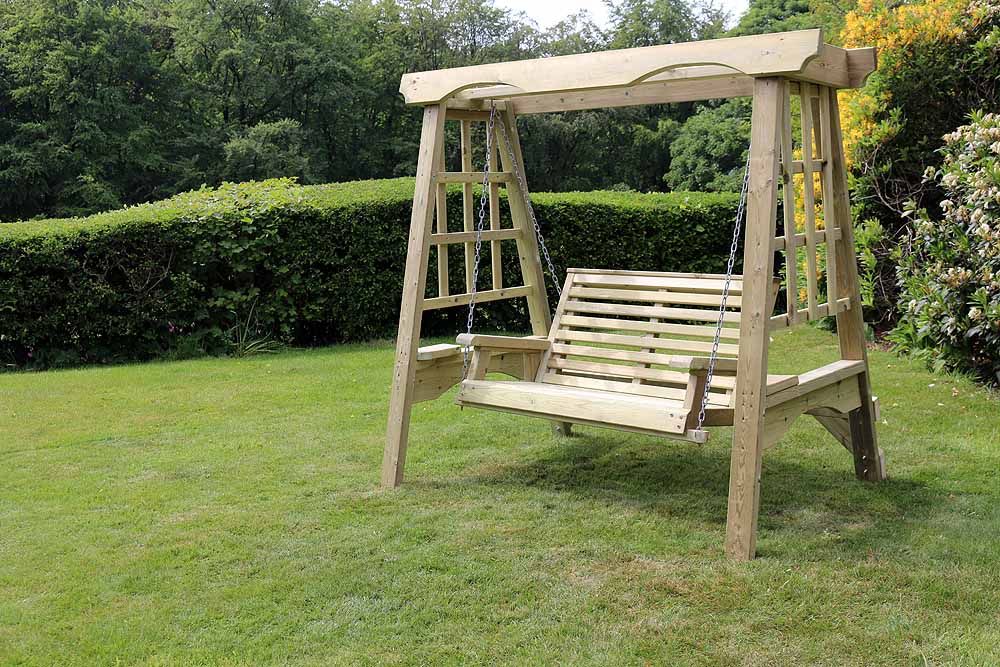
When you make a garden canopy swing you need to the following method can be used and create a fantastic wooden garden swing with canopy in 10 easy steps to your own dimensions to which produce a relaxing garden swing seat.
- Prepare the beams and cross rail
When you make a wooden garden swing, you need to use the best wood possible. Firstly, you need 150mm by 50mm softwood timber which is ideal and that should produce a smooth and even finish make two upright beams and cross rail that’s are work well.
- Cut the timber to length
Now you get two upright beams should be cut to a length of 2.8 meters or if you need. Cut the each beams 710mm that’s ground to provide a solid foundation for your swing and allow more timber for the cross rail of 1200mm.
- Treat the timber
If the timber hasn’t been using pressure treated, absorb the 710mm of each beam that will be underground in the good quality wood preservative.
- Join the beams and cross rail
When you join the beams and cross rail should be secured to the using mortise and tenon joints and need a liberal amount of waterproof glue. If once the glue is dry, the protruding ends of each beam and cross rail can be joints great and get a tidier finish.
- Tidy the timber and make it safe
All splinters and snagging points can be removed using sandpaper. After using sandpaper the frame can now be treated with wood varnish which looking nice and filling comfort.
- Dig out the footing and raise the frame
Keep the frame horizontally on the floor and mark out and dig two holes for the upright beams. Dig the 860mm and 160mm rubble into the holes to promote effective drainage. Now you give help a couple of friends lift the frame and insert the two beams into the hole that’s entire the frame is being held in an upright position.
- Set the frame in place
When setting the frame any place, we remember that the beams set carefully. Each beam set 200mm from the top of the hole and compact some additional rubble around the hole. The main remaining sections of the two holes filled with concrete and smoothed. Making sure that the beams don’t slope the surface from the wooden beams.
- Prepare the ropes
At first, found the polypropylene rope and take two lengths and fold each one in half. A metal eyelet can be placed on the ends to form loops and set the rope using twine. The best eyelets to use for this part f the project are thimbles which can be found easily sailing shops on the market.
- Mark up the cross rail and make the seat
Cut a piece of softwood timber of 230mm by 58mm which length of 575mm that’s will be used for the seat. The softwood drill four holes into the seat with two on each both side. Measure the exact length and holes and mark the same distance on the cross rail because the ropes will hang straight. But remember that don’t measure the exact length, the ropes don’t work properly.
- Hook the rope and secure the seat
Now hook the rope and secure the seat. The rope hanging the screw two swing into the cross rail which slips over the rope eyelets. When the rope ends can be cut and threaded the seat and adjusted the height is found. The ropes can be knotted beneath the seat and match together. Beside that bind each piece of looped rope with waxed twine around 200mm face of the seat.
Conclusion:
Finally, you can get a solid wooden garden swing that will keep enough to take weight adults, teenagers, and children. But it is more difficult to make a garden swing at home so you can find out many different approaches swing on the market which is lovely and looks great to your outdoor space.